Shaft alignment tool TKSA 41

The laser shaft alignment system with enhanced measuring and reporting
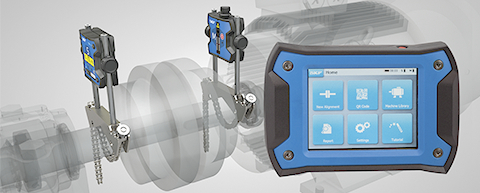
The TKSA 41 is an advanced laser alignment solution for achieving accurate shaft alignments. With two wireless measurement units, large sized detectors and powerful lasers, the instrument performs precise measurements in even the most challenging conditions.
The ergonomic display unit with intuitive touch screen navigation makes your alignments fast and easy, whilst innovative features, like the “free measurement”, increase the alignment performance. With the focus on improving alignment practices, the SKF Shaft Alignment Tool, TKSA 41, is one of the industry’s best value alignment solutions..
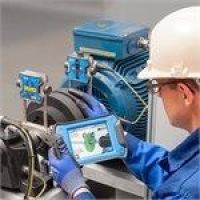
Shaft alignment is recommended for almost every industry, as it enables machine uptime to be significantly improved and maintenance costs to be reduced. The simplicity of the TKSA 41 provides greater confidence for the performance of alignment tasks on all types of horizontal rotating machines.


Features and Benefits
- Wireless communication improves instrument handling and allows alignment of difficult to reach applications from a safe position.
- Free measurement allows alignment measurements to start at any angle and finish with an angular sweep of just 90°.
- Automatic measurement enables hands-free measurements by detecting the head position and taking a measurement when the heads are rotated into the right position.
- Automatic reports are generated after each alignment. The reports can be customised with notes and pictures from the built-in camera for the most comprehensive overview. All reports can be exported as pdf files.
- Live view supports intuitive measurements and facilitates horizontal and vertical alignments.
- Machine library gives an overview of all machines and alignment reports. QR codes can be used to further simplify machine identification and improve the alignment workflow.
Technical Data
|
Sensors and communication
|
29 mm (1.1 in.) CCD with line laser; electronic inclinometer ±0,5°; Bluetooth 4.0 LE or USB cables (included) |
|
System Measuring distance
|
0,07 to 4 m (0.23 to 13.1 ft.) |
|
Measuring errors / displayed resolution
|
<0,5% ±5 µm / 10 um (0.4 mils) |
|
Display type
|
5.6" colour resistive touchscreen LCD |
|
Software update
|
via USB stick |
|
Shaft diameters
|
20 to 150 mm (0.8 to 5.9 in.) diameter Up to 300 mm (11.8 in.) with optional extension chains |
|
Max. recommended coupling height
|
195 mm (7.7 in.) with included extension rods |
|
Mounting system
|
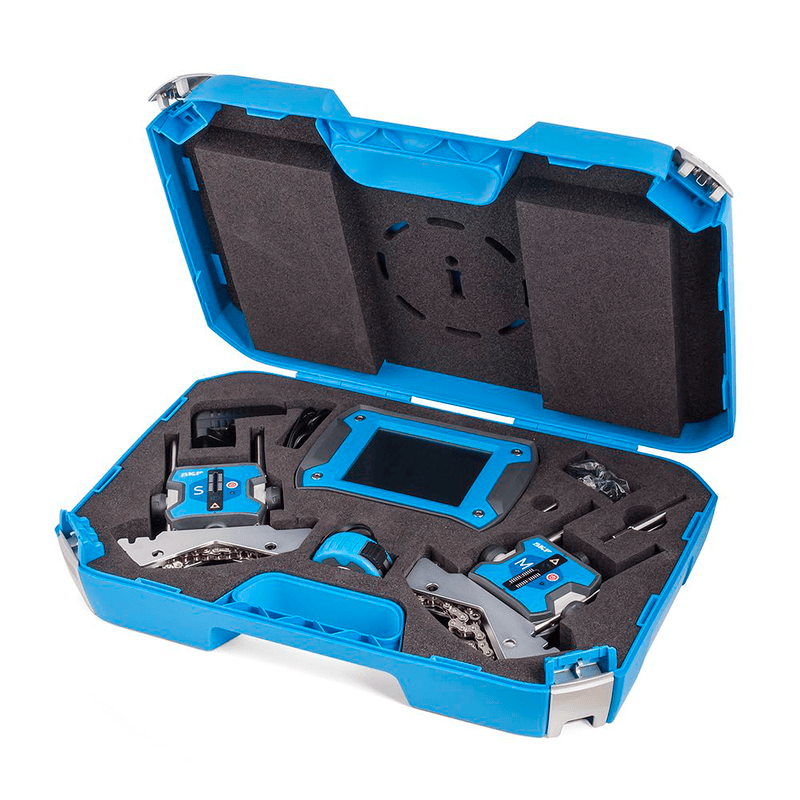
2 × V-brackets; 2 × chains 400 mm (15.8 in.); 2 × threaded rods 150 mm (5.9 in.) per V-bracket; 4 × extension rods 90 mm (3.5 in.) |
|
Alignment measurement
|
3 position measurement 9–12–3 3 position automatic measurement 9–12–3 3 position free measurement (with min. 90° rotation) |
|
Alignment correction
|
Live values for vertical and horizontal machine position correction; Laser soft foot tool |
|
Alignment report
|
Automatic pdf report exportable via USB stick |
|
Display unit battery
|
up to 8 hours continuous use at 100% backlight (5 000 mAh rechargeable LiPo battery) |
|
Measuring unit battery
|
up to 12 hours continuous use (2 000 mAh rechargeable LiPo battery) |
|
Carrying case dimensions
|
530 × 110 × 360 mm (20.9 × 4.3 × 14.2 in.) |
|
Total weight (incl. case)
|
4,75 kg (10.5 lb) |
|
Operating temperature
|
0 to 45 °C (32 to 113 °F) |
|
IP rating
|
IP54 |
|
Calibration certificate
|
Supplied with 2 years validity |


